Pressed for time and trying to slot a new fence into an already-crowded calendar? Between work, school pickups, and other home projects, even a “quick” install can spiral into weeks if you don’t know what happens when. Below, we break down every stage of a typical Melton fence installation: planning, prep, construction, and final inspection, so you can map out an accurate timeline and keep your household running smoothly from day one to done.
1. Planning
A smooth fence project starts with two quick checks: design details and council rules. We’ll help you confirm the style, height, and exact boundary line, and if it’s a shared boundary line, you’ll need to discuss your fencing plans with your neighbour. Costs for fencing on a shared boundary are typically split 50/50 between you and your neighbour, so it’s best to start by opening discussions with your neighbour before progressing forward.
Most front fences under 1.5 m (2 m on arterials) and side or rear fences under 2 m sit comfortably inside Melton’s “no-permit” zone, so they move ahead fastest. If you’re looking at extra height, building on a corner or retaining wall, or your block sits in a heritage or bushfire overlay, the council will want a closer look.
In those cases, you’ll need to apply for a permit from Melton City Council, and approval times can vary, from around three weeks for a straightforward Report & Consent to a couple of months for a full planning permit. When schedules are tight, keeping the design within the exempt limits is the simplest way to stay out of that queue and avoid any headaches.
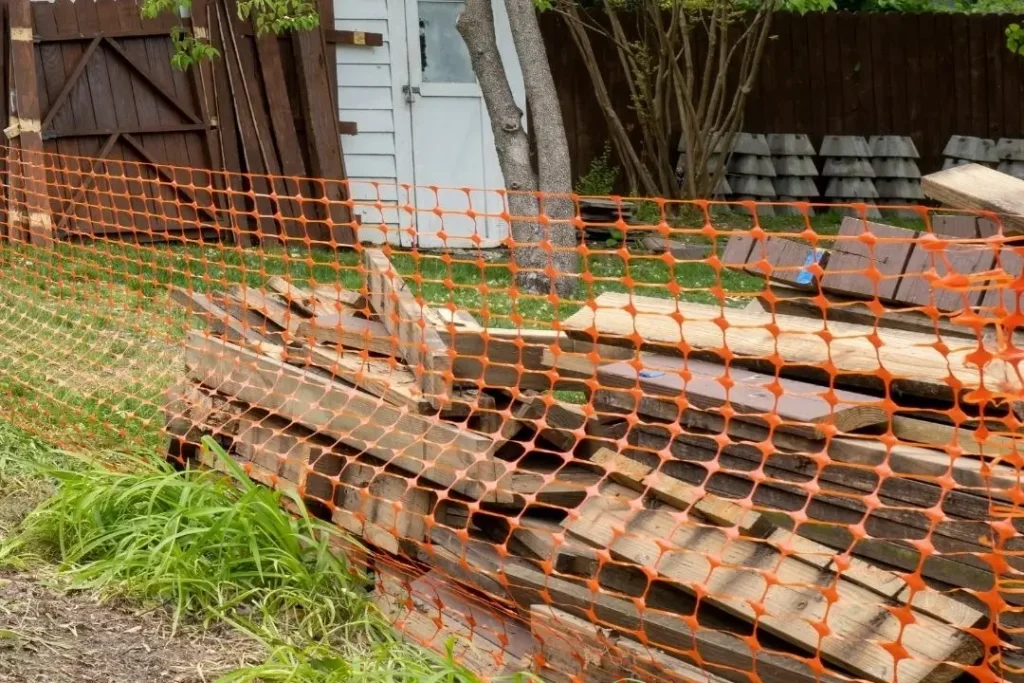
2. Site Preparation (1-2 Days)
Now it’s time to get ready for your new fence. This usually starts with clearing any vegetation or debris that might get in the way. If there’s an old fence, we’ll remove it and dispose of it responsibly. Once the area is clear, we’ll mark the boundary and the exact locations for the new posts.
How long the site prep takes depends on your site. Flat blocks with open access are often ready within a day. But if the fence runs over a slope, around trees, or along hard surfaces like concrete or paving, we may need a bit more time to work around those features.
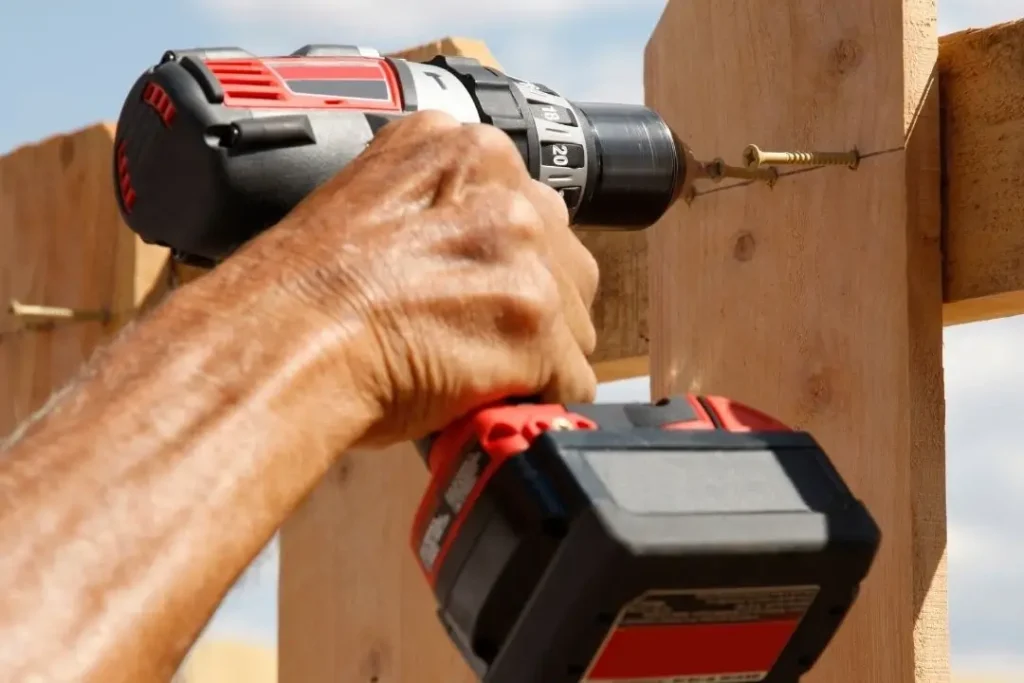
3. Fence Installation (1-2 Days)
Once the site is prepped, we can get started on the actual build. The first step is digging the post holes and setting the posts in concrete. We usually leave these to cure overnight so they’re nice and solid before we attach anything else. After that, we install the rails and panels, or palings, slats, and battens, depending on your chosen style. If there’s a gate included, we’ll fit that too and make sure it opens and closes properly.
The timeframe here will vary and depend on the length of the fence, the materials we’re using, and how tricky the terrain is. A standard timber or Colorbond boundary fence often takes just a day or two to install. But if we’re working with more detailed styles, multiple gate openings, or a sloped site, we may need a bit longer time.
4. Final Inspection and Clean Up (1 Day)
After the installation is complete, we go over the fence to check that everything is built correctly. This includes making sure the posts are stable, the panels are straight, and the gates are working as they should. Part of finishing the job is making sure your yard isn’t left in a mess. We take care of all the cleanup, including any offcuts, packaging, or old materials that were removed. If we notice anything that needs a quick fix or adjustment, we’ll handle it before we leave so you won’t be chasing loose ends later on.
Post-Installation Care
Once the fence is up and the site is cleaned, a little ongoing care will keep it in good shape for years. We’ll let you know if your fence needs any specific maintenance based on the materials used, but here are a few general tips:
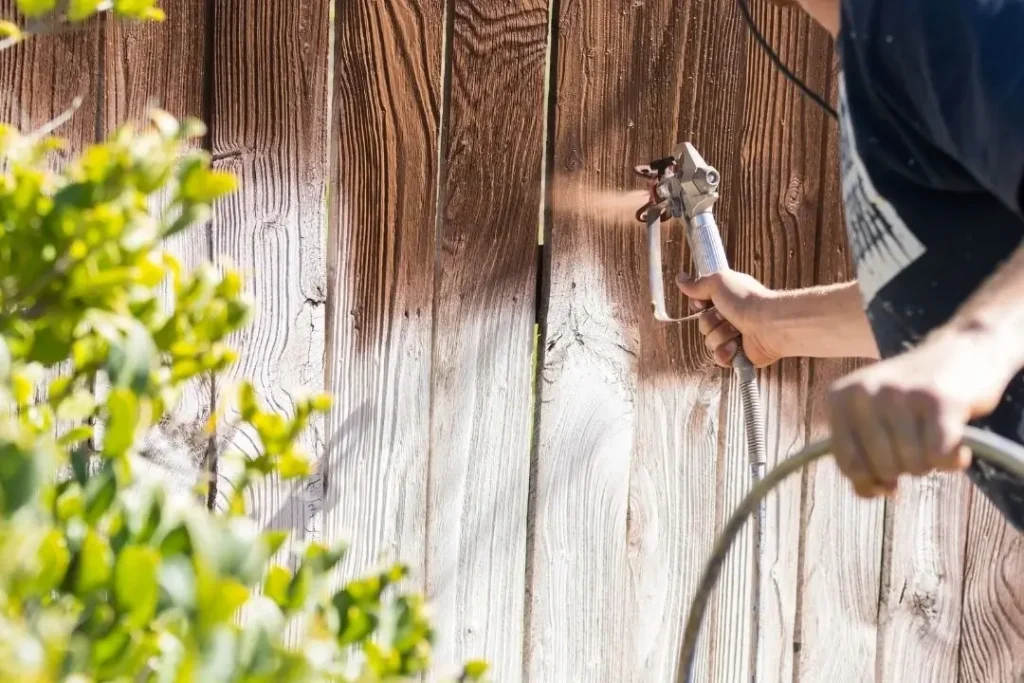
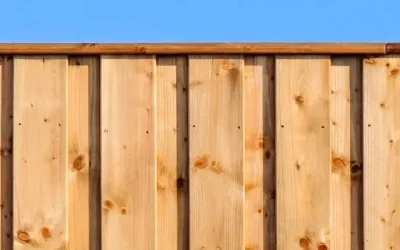
- For timber fences, it’s a good idea to seal or stain the timber once it’s had a bit of time to dry out. This helps protect it from moisture, UV damage, and general wear, and helps the timber last for 20+ years.
- Keep the base of the fence clear of garden beds, mulch, or leaf buildup. Constant contact with wet soil can lead to rot or rust, depending on the material.
- Check posts and fixings every so often, especially after strong winds or storms. Tightening a loose screw or replacing a damaged paling early on can prevent bigger issues later.
- Avoid using sprinklers directly on the fence, as constant moisture can shorten its lifespan, especially with timber.
If you’re ever unsure about how to look after your fence, just ask. We’re happy to give you advice based on the type of fence you’ve chosen and local conditions. A little attention after installation goes a long way in keeping your fence looking good and holding up well over its lifespan.
Conclusion
Installing a fence isn’t something that can be done overnight, but knowing what to expect in each stage can make the whole process a lot easier to manage. Whether you’re replacing an old boundary fence or putting one in for the first time, after the initial planning stage, most Melton fencing builds take around 2-3 days. Give yourself time for planning, especially if permits are involved, and try to stay flexible in case of weather or scheduling changes.
If you’re thinking about getting a fence but unsure how to fit it into your schedule, we’re happy to walk you through the timing and what to expect. From planning to installation, we’ll provide a clear timeframe and keep you updated if anything changes along the way.
Ready to get started on your fence? Give us a call on (03) 9645 2820.